

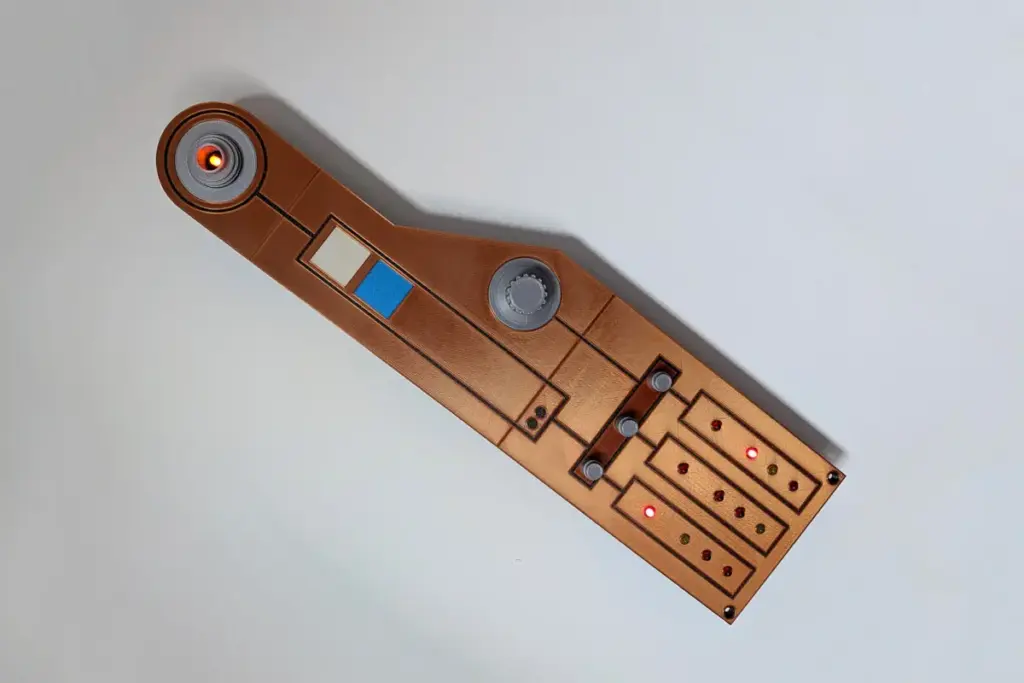
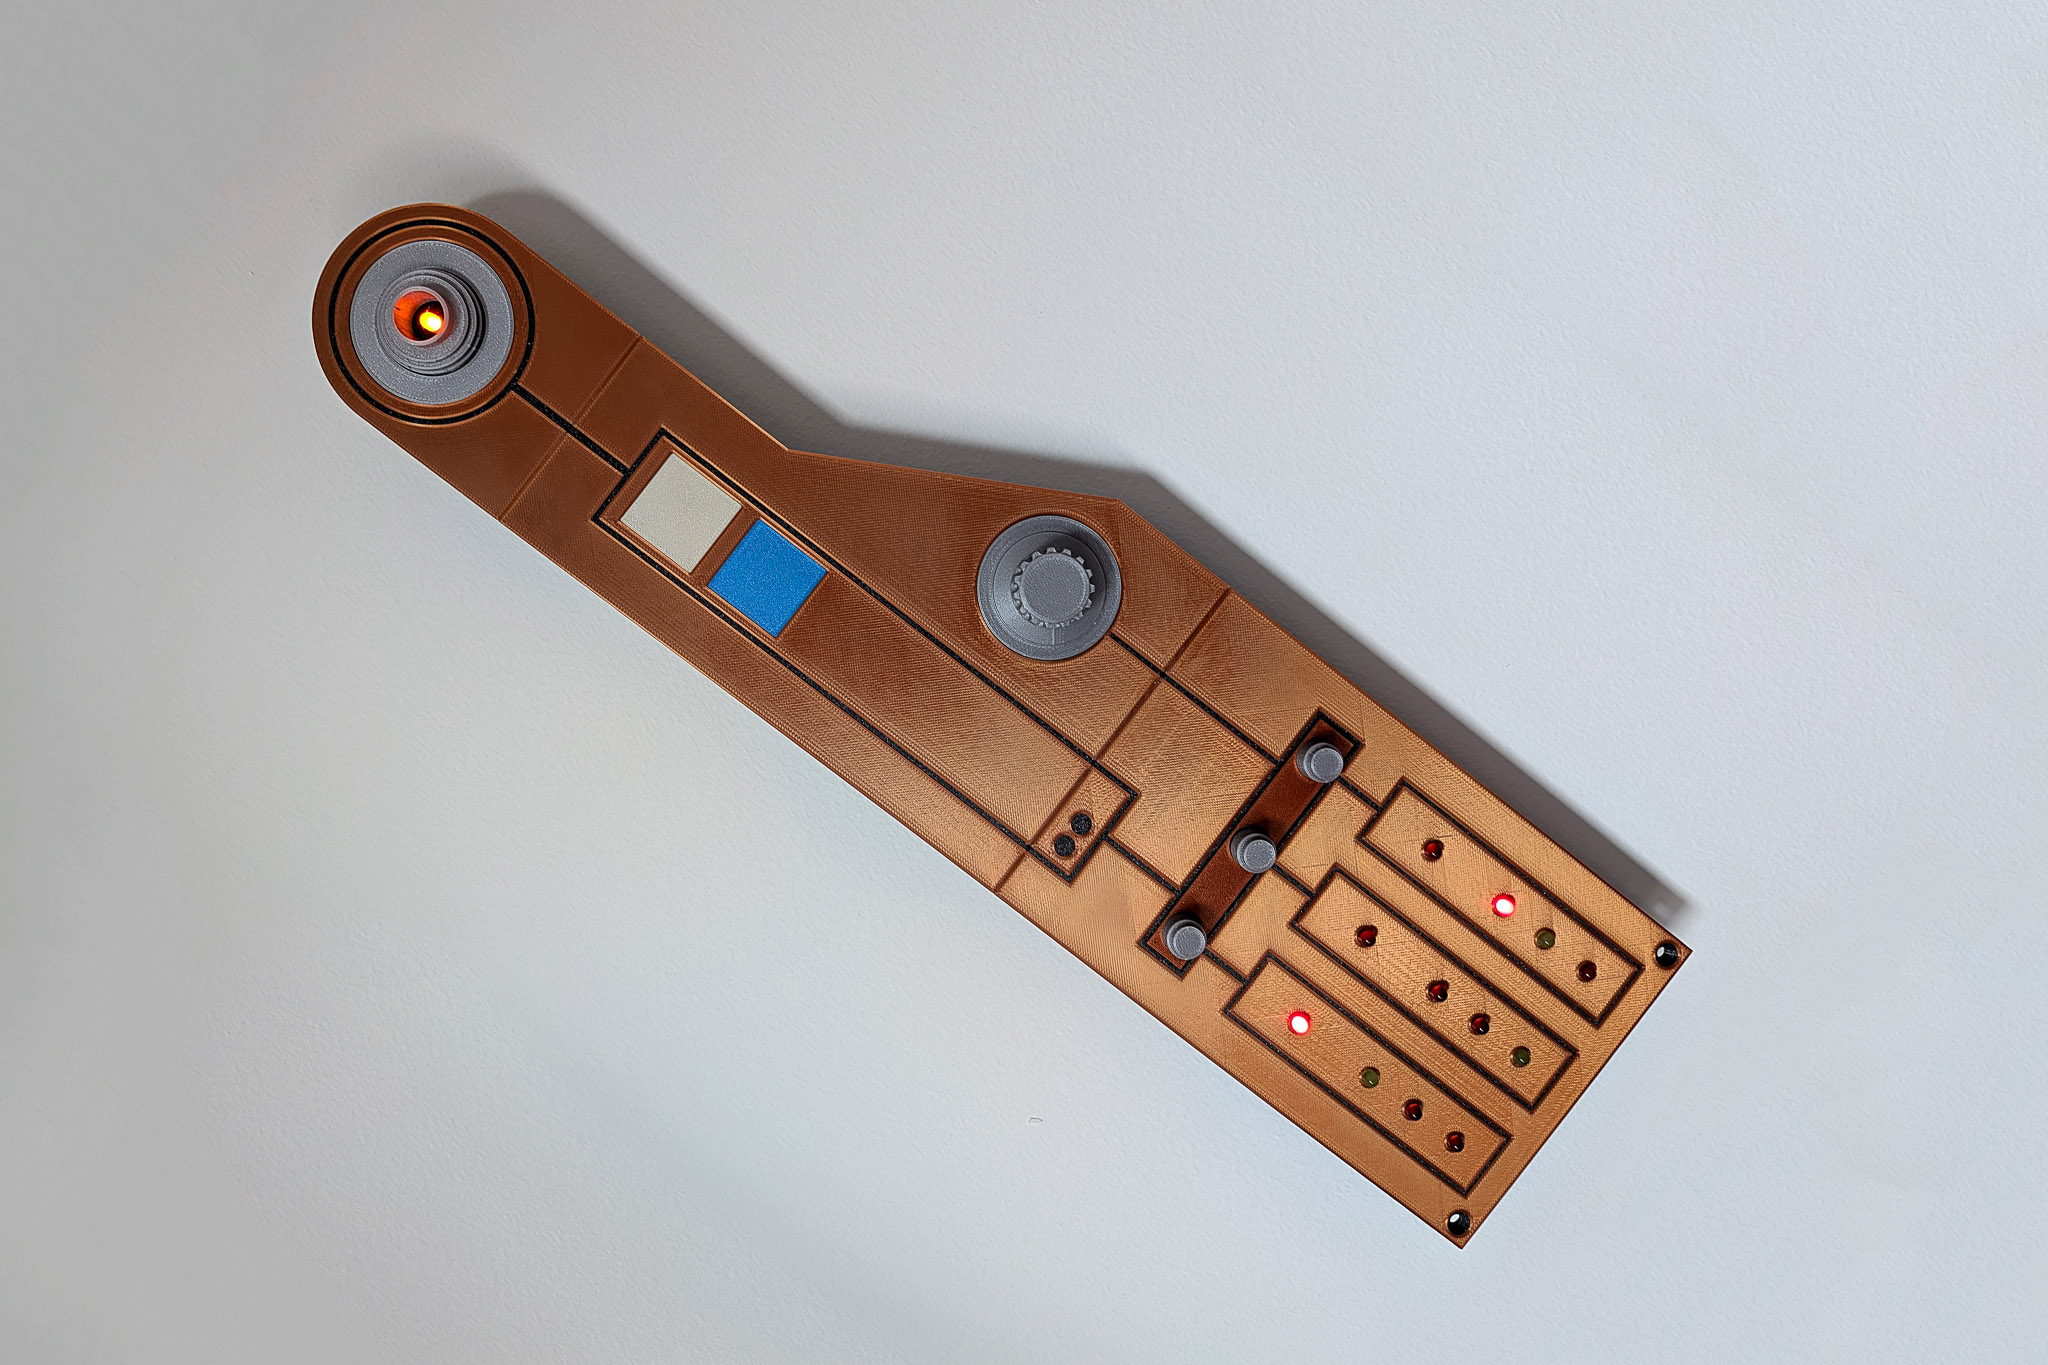
The intersection of modern desktop fabrication and classic cinematic world-building has once again yielded remarkable results for prop makers and science fiction enthusiasts. Recent technical documentation shared within the maker community details the intricate process of constructing an authentic, screen-accurate Star Wars control panel entirely through 3D printing and accessible hardware components. This comprehensive fabrication method allows hobbyists to replicate the weathered, industrial aesthetic of a galaxy far, far away on their own workbenches, bridging the gap between digital design and tangible movie magic.

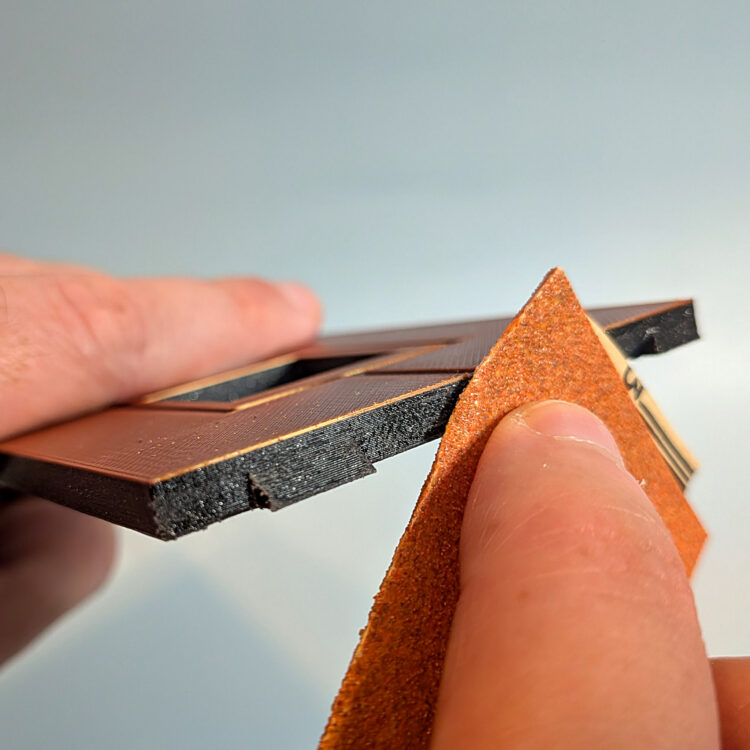
The project relies on a modular approach, breaking down the complex geometry of a starship bulkhead console into manageable segments. For makers looking to tackle this build, the journey begins with assembling the base foundation. Surface preparation is critical in achieving a professional finish, starting with the careful application of sandpaper to roughen the connecting edges of the individual structural plates. This crucial preliminary step ensures that adhesives create a robust, lasting bond across the synthetic material.
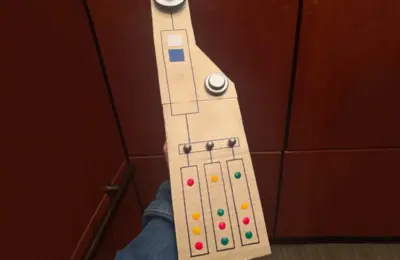
Once the contact surfaces are properly textured, construction proceeds by joining the foundational segments—designated as panels A and B—using precision super glue. Integrated alignment notches built directly into the digital models allow builders to lock the pieces securely into place while the chemical bond sets. This alignment technique is then repeated for the remaining structural components, such as panel C, ensuring the entire faceplate maintains structural integrity without warping. For makers aiming for maximum cinematic authenticity, this stage provides an ideal window to apply filler, sand the seams, and paint the unified assembly before any hardware is introduced, effectively hiding any evidence of modular construction.
With the primary chassis complete, the focus shifts to the signature aesthetic elements that define the distinct industrial design language of the franchise: the greeblies. In prop-making terminology, greeblies refer to the specialized detail pieces, geometric accents, and mechanical gasts that break up flat surfaces and create a sense of mechanical complexity. Using precise dabs of super glue, makers attach these intricate detail pieces to designated spots across the faceplate. Among these components, a larger ring is engineered to fit prominently at the top of the assembly, while a smaller counterpart finds its home on the center-right section of the console, capturing the asymmetrical look characteristic of classic practical effects. Additionally, square light covers are integrated directly into the housing, utilizing a snug press-fit design that can be reinforced with hot glue for added stability.

The functionality of the console relies heavily on physical controls that mimic vintage analog machinery. The interface is specifically engineered to house standard 6mm audio-grade potentiometers featuring 15mm shafts, components commonly found in musical mixing boards and audio equipment. The installation process requires placing a specialized structural spacer underneath the panel, ensuring that integrated registration keys lock firmly into corresponding alignment holes. This mechanical layering keeps the internal architecture stable.

The potentiometers are then threaded through the spacer and the faceplate itself, with small retention tabs resting securely inside designated notches to prevent rotation during use. Securing these electronic components requires standard hardware, specifically M7 hex nuts with a 0.75mm thread pitch, where tools such as needle-nose pliers prove invaluable in tight spaces. Once all four potentiometers are firmly anchored, a dedicated cover is fitted onto panel B, and custom 3D-printed knobs are slid onto the potentiometer shafts, utilizing built-in alignment notches to ensure uniform orientation across the interface.

Illumination serves as the final touch in bringing the static plastic console to life, transforming a passive prop into an active, glowing workstation. The assembly process incorporates a total of thirteen light-emitting diodes distributed strategically across the structure. Twelve of these LEDs are integrated into the lower grid of panels A and C, while the final thirteenth light is positioned directly inside the upper greeblie ring. Experienced builders recommend maintaining a consistent orientation for all LEDs during installation to streamline future wiring and power management. Finally, additional illumination is secured using hot glue to mount individual LEDs directly behind each of the square light covers, casting a warm, atmospheric glow through the translucent plastic elements and completing the immersive aesthetic of a functioning starship control station.