
The intersection of science fiction fandom and modern desktop fabrication continues to yield impressive results, with a new project allowing enthusiasts to bring a piece of a galaxy far, far away directly into their workshops. A detailed blueprint and assembly process for a replica Star Wars control panel has been introduced for makers utilizing 3D printing technology, offering a structured approach to building authentic-looking set pieces complete with mechanical inputs and illumination.
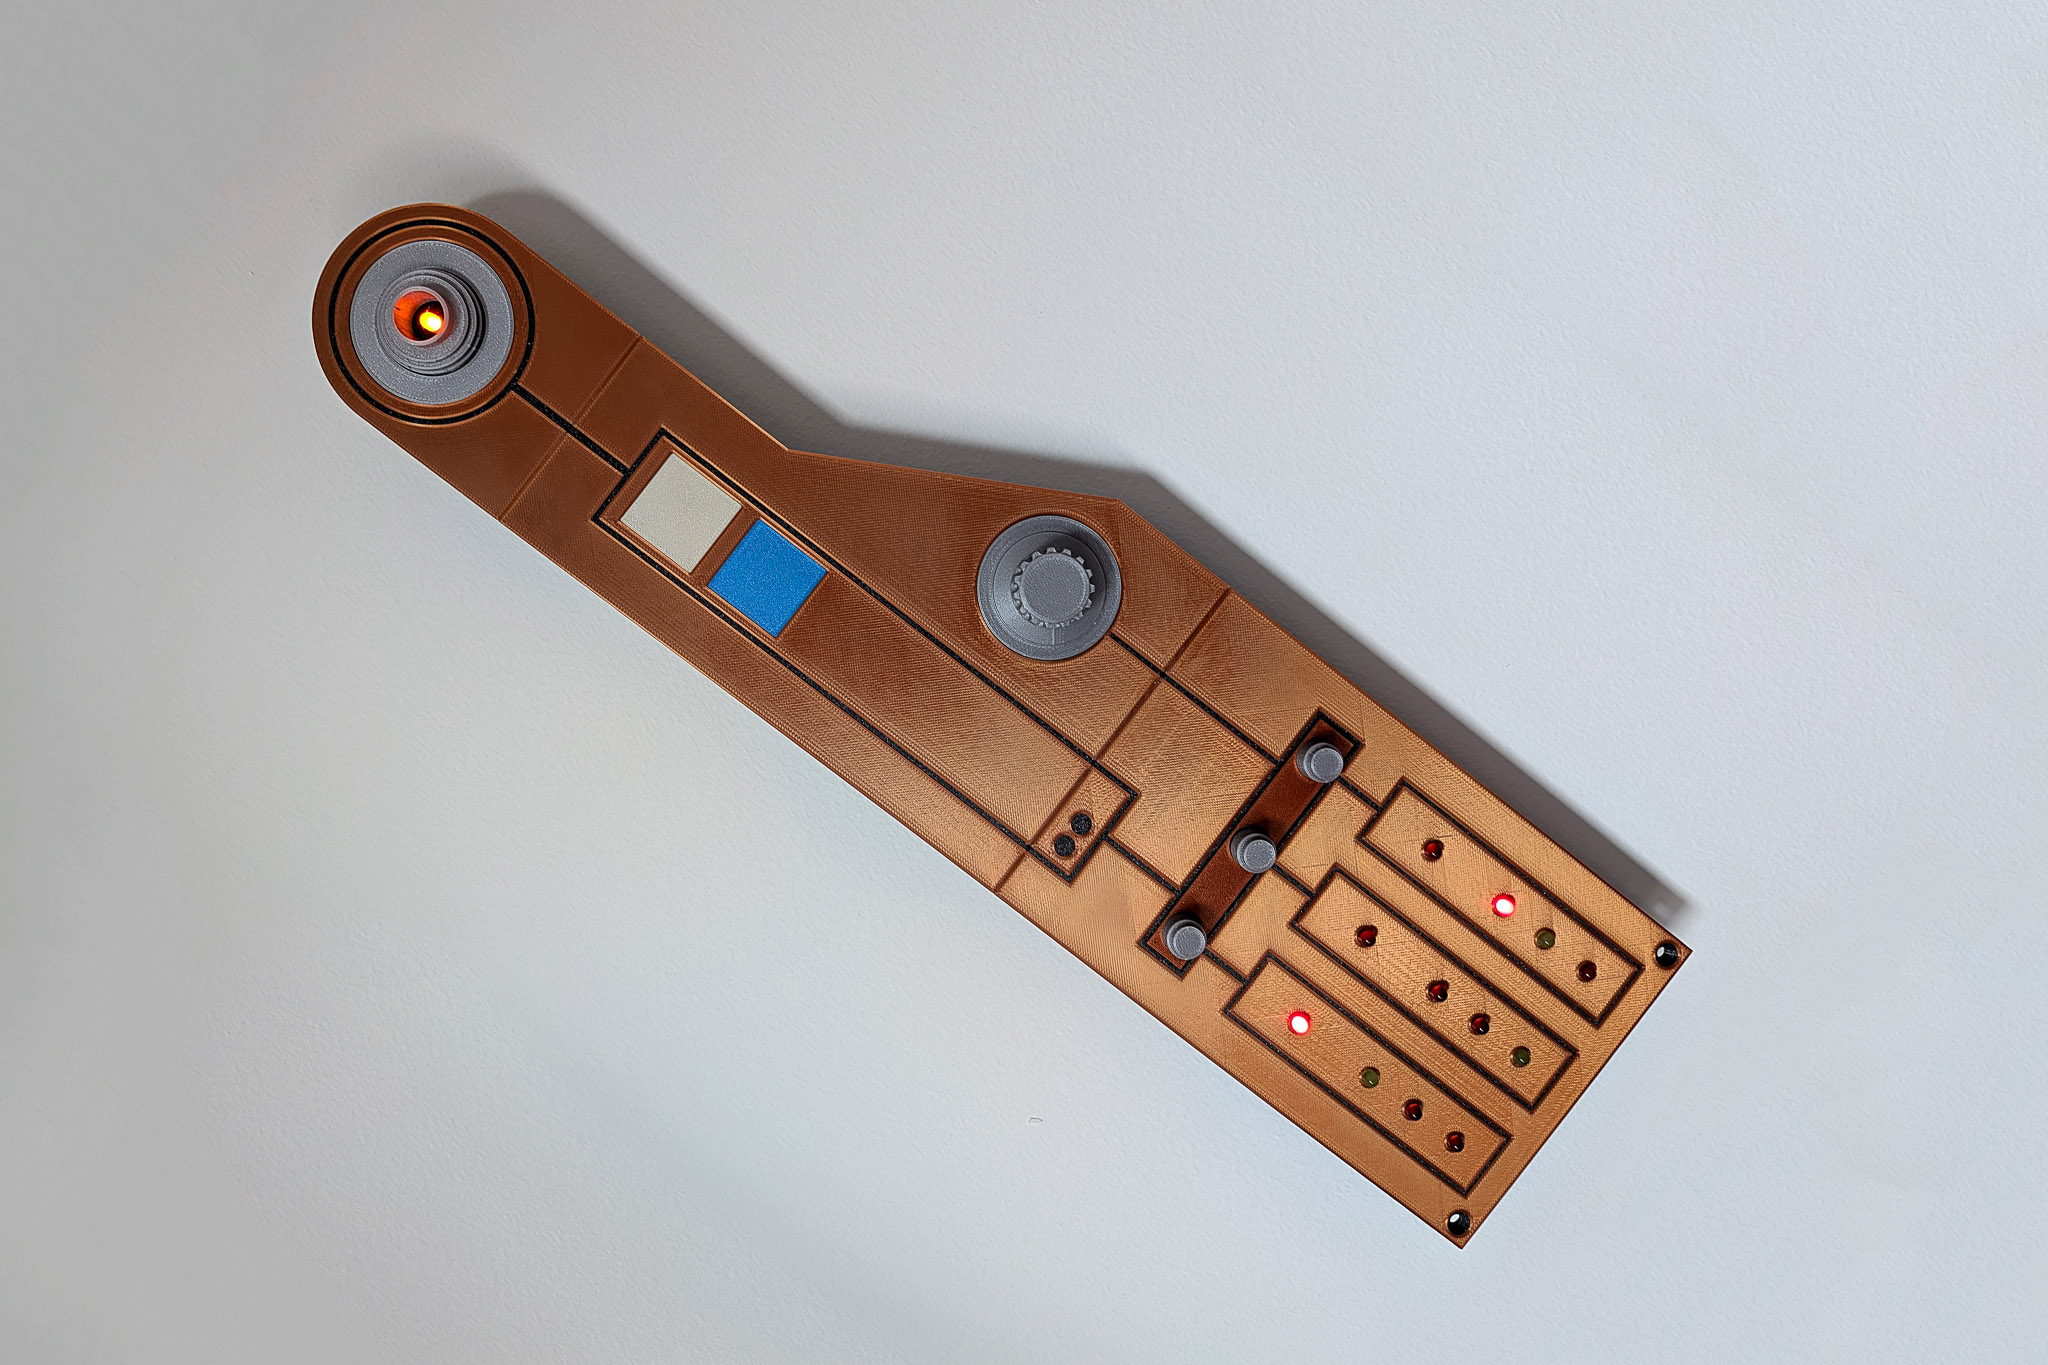
For years, prop makers and cosplayers have relied on resourcefulness, scavenging surplus electronics and industrial scrap to achieve the distinct "used universe" aesthetic characteristic of the original Star Wars trilogy. Today, desktop additive manufacturing has streamlined that process, allowing hobbyists to replicate intricate greeblies, control panels, and instrument consoles with high precision. This latest project breaks down the physical construction of a multi-section control panel into manageable phases, guiding builders from raw plastic prints to fully illuminated, interactive display pieces.
Assemble the Base Panel
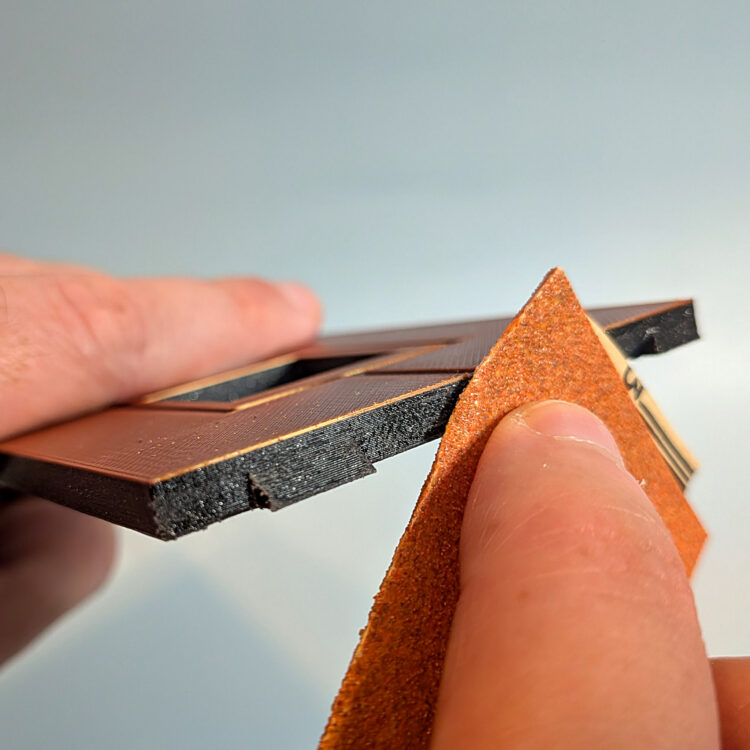
The foundation of the project begins with the physical structure of the control console itself, which is divided into individual printed segments to accommodate standard 3D printer build volumes. Because adherence is critical when joining structural plastic parts, the initial phase requires basic surface preparation. Builders begin by using sandpaper to rough the connecting edges of each panel, creating a textured surface that allows super glue to achieve a stronger, more reliable bond.

Starting with the primary segments designated as panels A and B, adhesive is applied to the mating edges. To ensure structural integrity and proper alignment without shifting, the design incorporates integrated alignment notches that hold the pieces securely in place while the chemical bond sets. This process is then repeated with the remaining structural component, panel C, locking the primary housing elements together into a cohesive unit. Once the segments are securely joined, builders have the option to apply additional sanding and filler paint to smooth out the seams, effectively hiding the junction lines before moving on to surface detailing.

Add Greeblies
With the primary housing assembled, the build transitions into surface detailing, a signature element of prop replication often referred to in the maker community as adding "greeblies." These are the miscellaneous mechanical bits, raised rings, and geometric accents that break up flat surfaces and give cinematic props their signature industrial complexity.

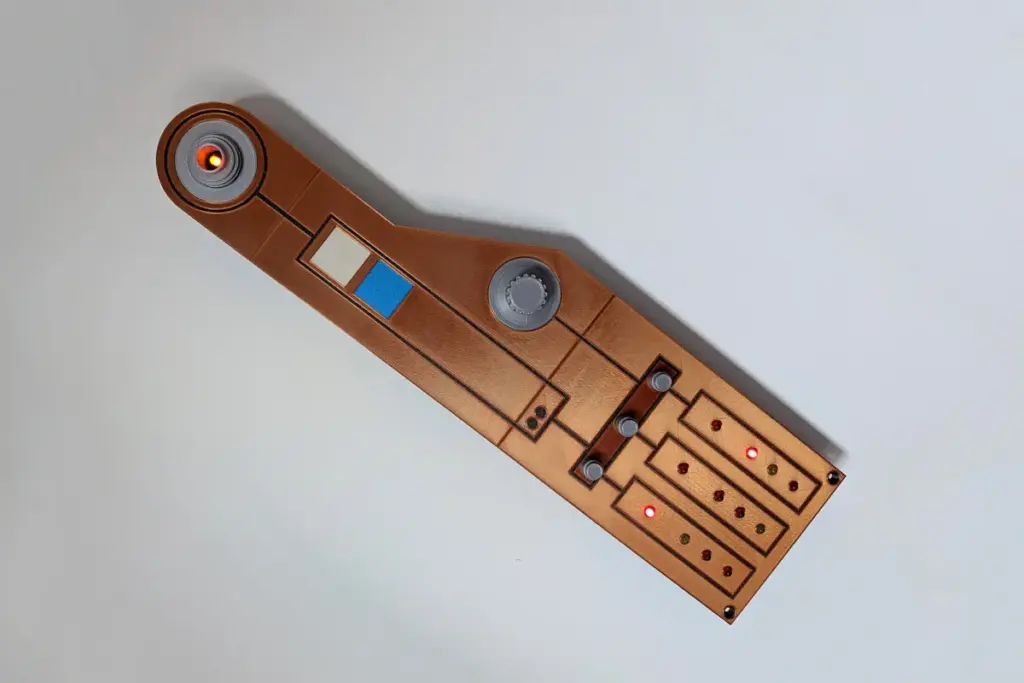
Using cyanoacrylate adhesive, builders secure these specialized detail pieces directly onto the face of the console. The larger of the two circular ring components is designed to fit precisely at the top of the assembly, anchoring the upper visual focal point of the panel. Meanwhile, a smaller counterpart is positioned toward the center-right section to balance the asymmetrical layout typical of industrial interface designs. To complete the architectural detailing, square light covers are press-fit into designated cutouts across the face of the panel, with optional hot glue applied from the reverse side to ensure they remain permanently locked in position.

Add Knobs
A control panel is defined not just by its static appearance, but by its interactive elements. This particular design is engineered to integrate standard hardware components widely found in consumer electronics, specifically utilizing standard six-millimeter potentiometers equipped with fifteen-millimeter shafts, the kind commonly deployed in audio mixing equipment and musical amplifiers.

The installation of these electronic components requires precise mechanical alignment. Builders place a custom-engineered spacer underneath the rear of the panel, ensuring that integrated keys on the spacer fit snugly into corresponding registration holes on the housing. Once aligned, the spacer can be reinforced with a dab of super glue or hot glue. The potentiometers are then inserted through the rear spacer and the panel itself, with an orientation tab resting securely within one of the spacer’s retention notches to prevent the component from spinning when rotated.

Securing the potentiometers requires fastening them with standard hex nuts, typically sized at M7 with a 0.75-millimeter thread pitch. Because of the tight tolerances involved, needle-nose pliers serve as an essential tool for tightening these fasteners in confined spaces. Once all four potentiometers are locked into the structure, a dedicated potentiometer cover is mounted onto panel B to conceal internal wiring channels and frame the controls. The final mechanical touch involves sliding the custom 3D-printed knobs directly onto the potentiometer shafts, utilizing built-in alignment notches to ensure proper orientation.

Add Lights
No authentic sci-fi control panel is complete without working illumination, and the final stage of the build focuses on integrating discrete lighting elements to bring the console to life. The design accommodates a series of individual light-emitting diodes to backlight the interface components and structural details.

Thirteen LEDs are integrated directly into the housing, with twelve distributed across the bottom grid of the console and an additional unit placed inside the upper greeblie ring. For builders planning to wire the panel to an external power source at a later stage, maintaining a consistent orientation among all the LEDs during installation is recommended to simplify cable management. These components can be held securely in place using hot glue. Finally, additional LEDs are positioned and secured directly behind each of the square light covers previously installed on the face of the console, ensuring an even, diffused glow across the instrument panel once power is applied.