

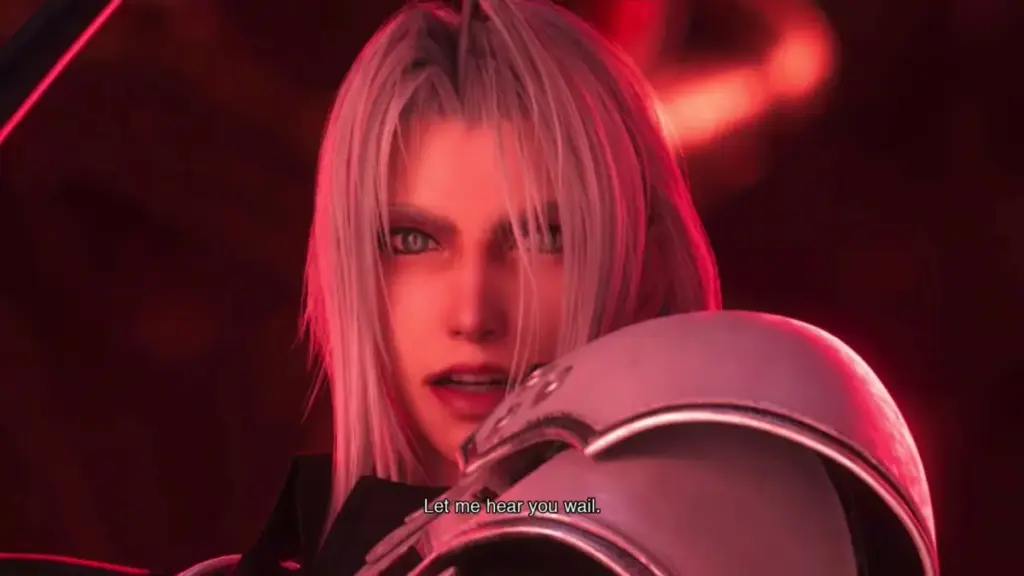
As players progress through Final Fantasy Resonance, they frequently encounter a grayed-out option in their menus known as Sephiroth’s Vision. Unlike the game’s other Visions, which are typically discovered tucked away inside conventional shrines throughout the world, the iconic antagonist from Final Fantasy VII cannot be unlocked through standard exploration alone. To claim his power, players must first track down his hidden location and prove themselves in a demanding, multi-stage boss encounter that serves as one of the title’s steepest difficulty spikes.
Where to Find Sephiroth’s Vision in Final Fantasy Resonance
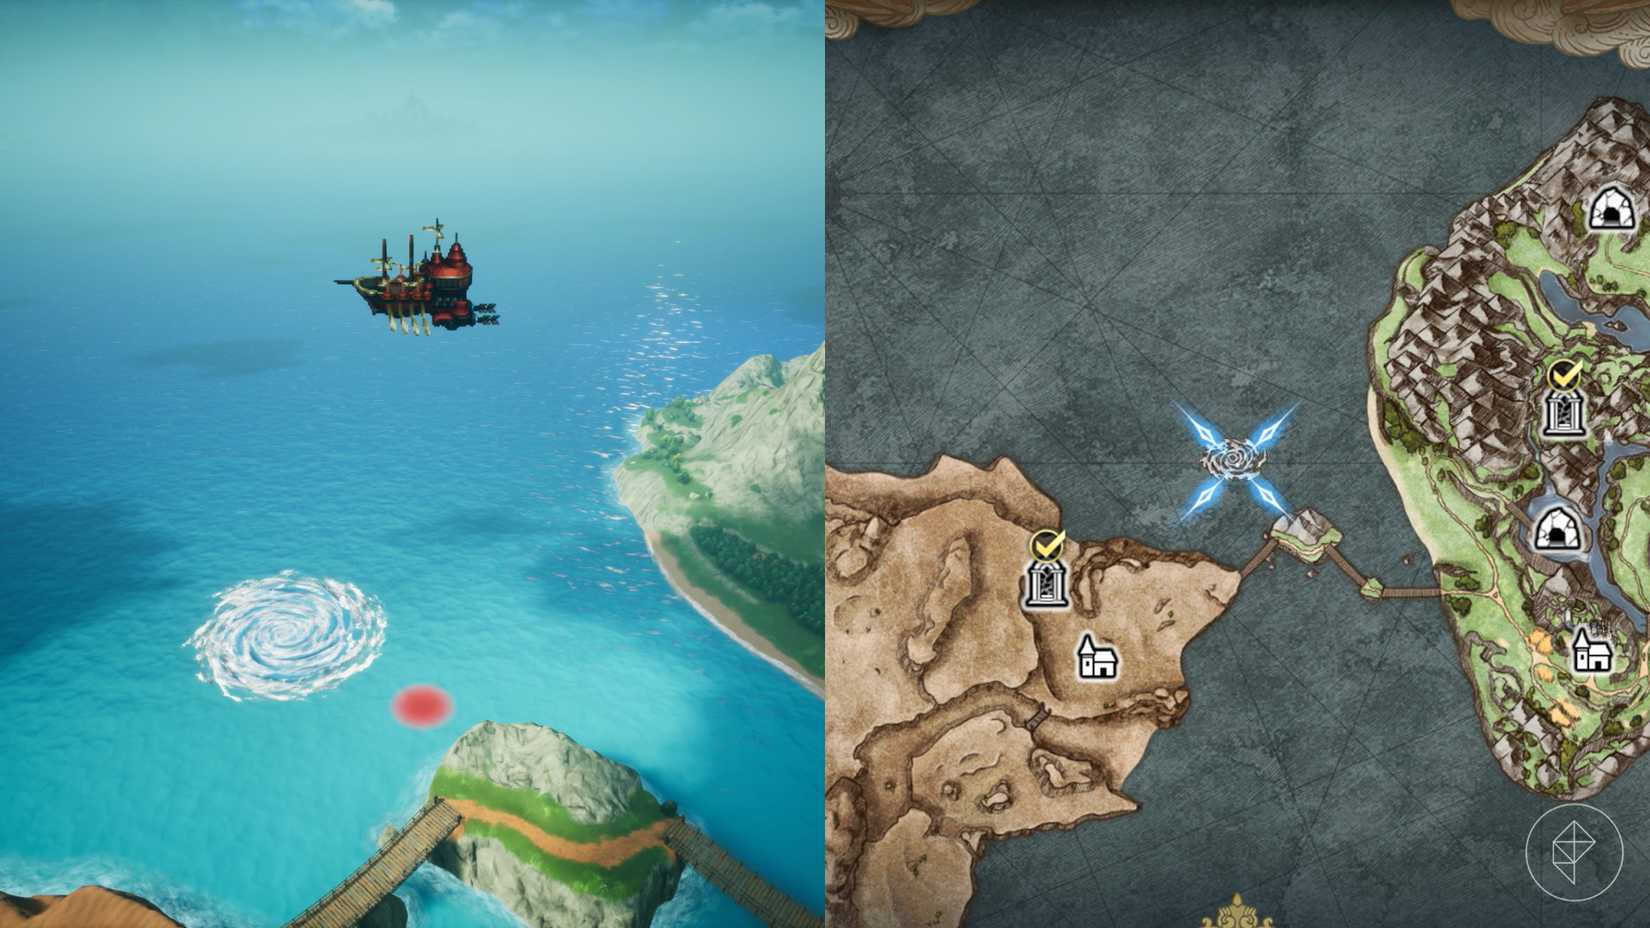
The journey to unlock Sephiroth begins once players reach Chapter 5 and acquire the airship, a milestone that opens up the overworld map for aerial exploration. With the airship at their disposal, players must fly north of the bridge leading to the desert region in Grandshelt. In this northern oceanic area, a distinct whirlpool serves as the gateway to the encounter. Approaching the vortex triggers an interactive prompt, allowing the airship to descend directly into the hidden domain.
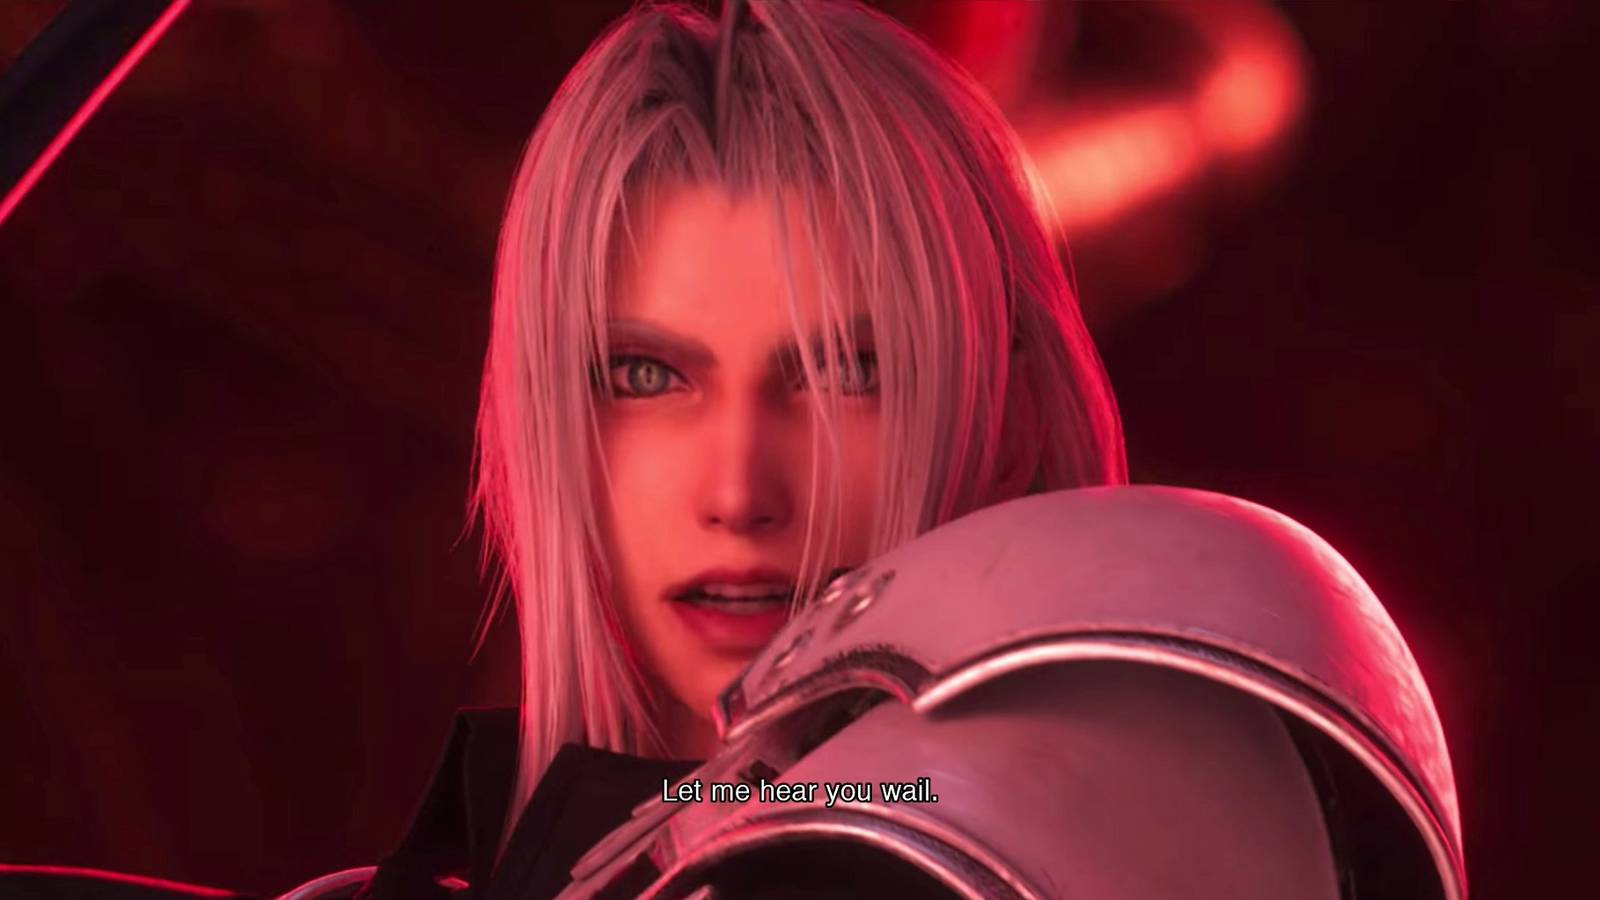
Upon entering, players will find an environment that initially mirrors the familiar Vision shrines scattered across the game world. However, interacting with the central crystal yields a stark warning: acquiring Sephiroth’s Vision requires surviving a severe combat trial. While players can turn back to prepare, those who choose to proceed immediately will face a formidable opponent designed to punish unprepared parties.
How to Beat Sephiroth in Final Fantasy Resonance
The confrontation against Sephiroth is structured as a demanding three-phase boss fight. While the encounter lacks separate health bars for each phase, Sephiroth boasts a substantial pool of 250,000 HP and stands at level 45. Players who have coasted through the early chapters of the game by relying on raw offensive output will quickly find that Sephiroth demands careful strategic planning, appropriate defensive preparations, and optimized party configurations.

Phase 1
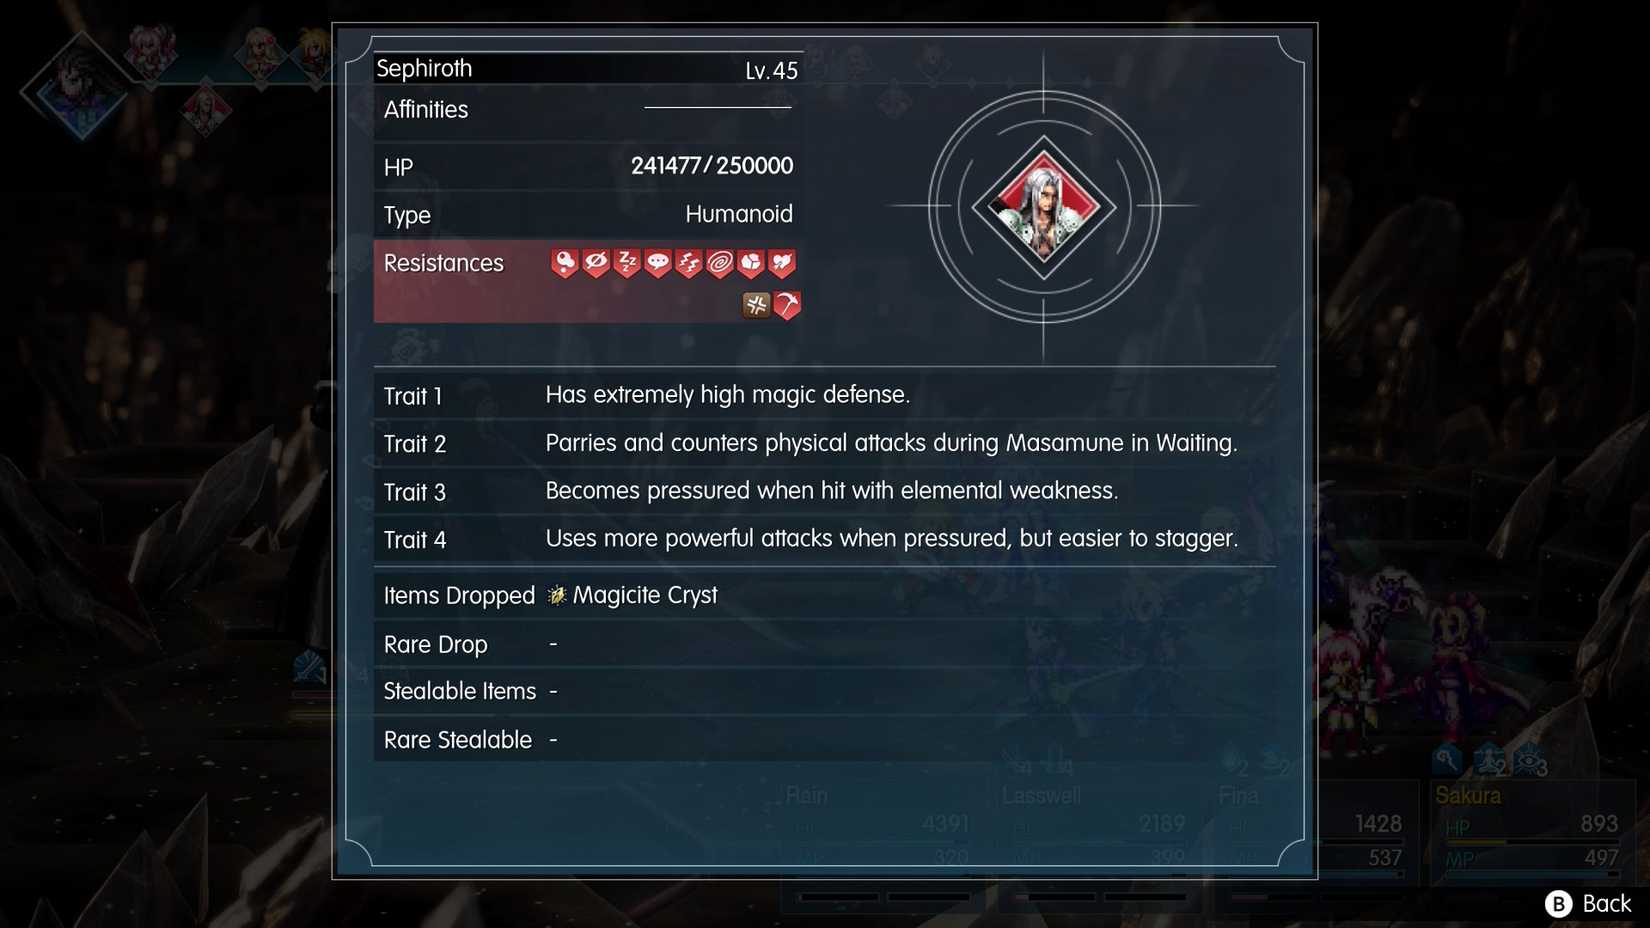
The battle begins with Sephiroth alternating between dealing standard damage and utilizing a defensive stance known as "Masamune in Waiting." During this posture, he blocks incoming physical strikes and immediately counters them. He also unleashes a mix of standard magic attacks alongside physical and dark physical damage. Throughout this opening phase, Sephiroth maintains a noticeably higher resistance to magic defense, requiring players to balance their offensive approach carefully.
Phase 2
Once Sephiroth’s health is reduced to approximately 200,000 HP, he transitions into the second phase of the encounter, temporarily becoming entirely immune to all incoming damage during the shift. This transition is marked by the casting of "One-Winged Angel," which signals that he has entered his next state and made himself vulnerable once again.
The situation intensifies significantly on the turn immediately following "One-Winged Angel," when Sephiroth casts "Heartless Angel." This devastating ability reduces the entire party’s HP down to a single point. To survive this onslaught, players are strongly advised to assign the Warrior of Light Vision to their tank character. This grants access to the "Multi-Cover" skill, which redirects all incoming damage to the user. Executing this correctly ensures that the tank absorbs the life-reducing blow while the rest of the party remains unharmed.
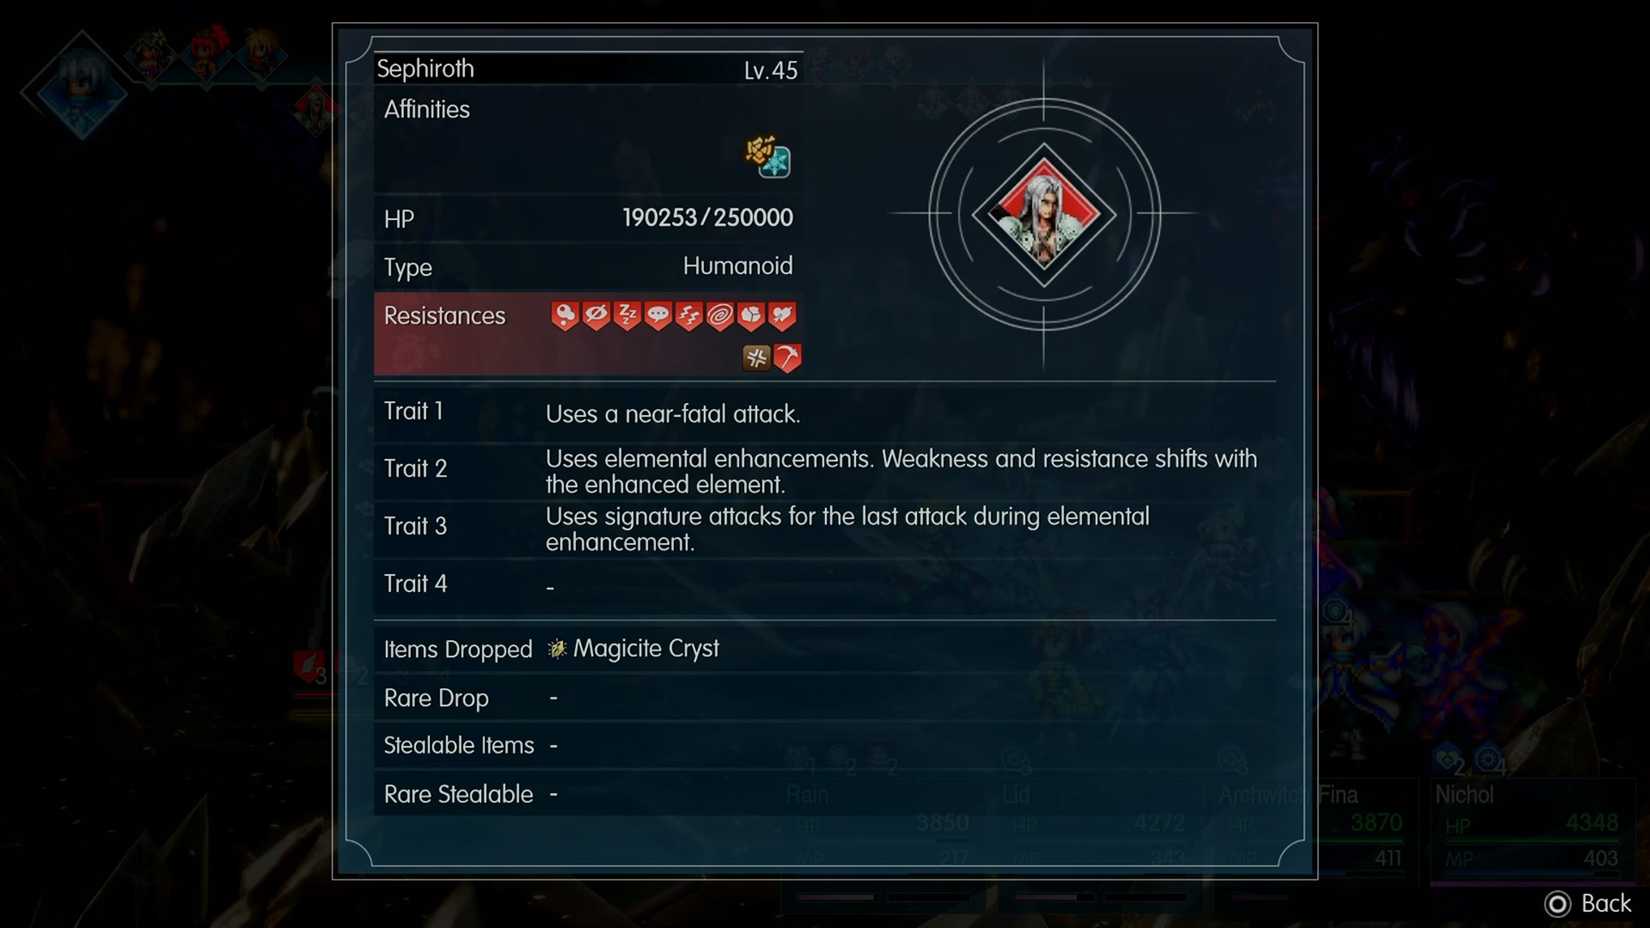
Following this move, Sephiroth charges himself with a random elemental affinity, simultaneously becoming weak to the opposing element. Players must carefully avoid attacking him with the element he is currently infused with, as those strikes will deal zero damage. Instead, the strategy requires exploiting his newly acquired elemental weakness, employing light-element skills, or relying on non-elemental attacks. However, utilizing non-elemental attacks prompts Sephiroth to retaliate with sweeping area-of-effect magic spells. If his elemental infusion expires without the party advancing the fight, he will cast "Heartless Angel" once more, making speed and precise elemental management essential.
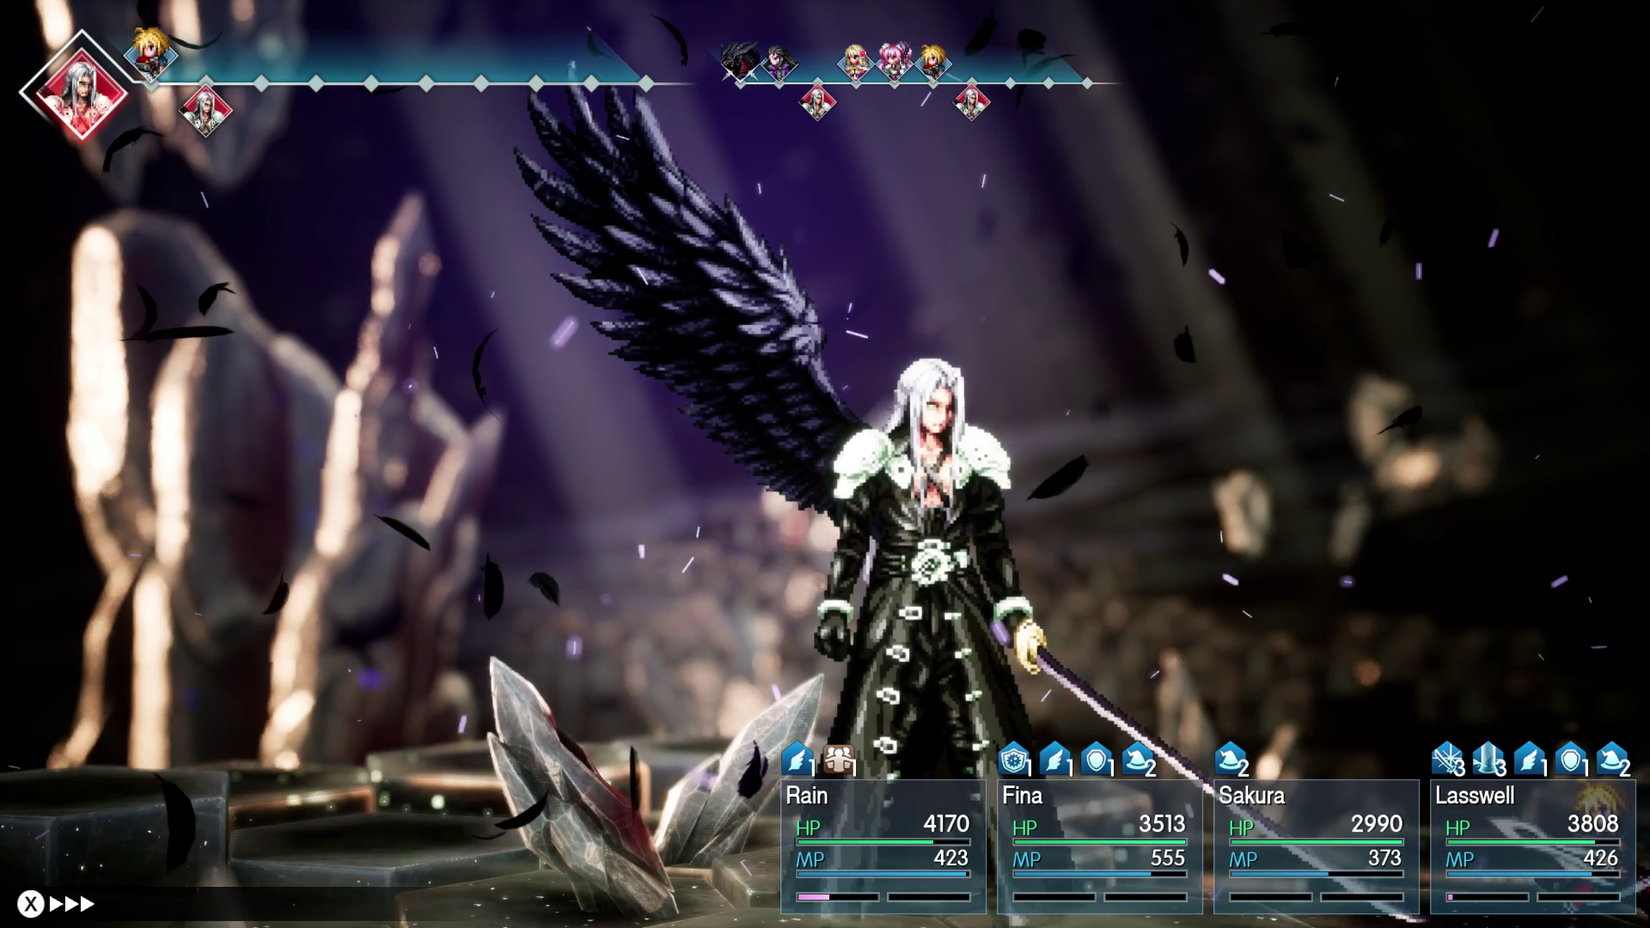
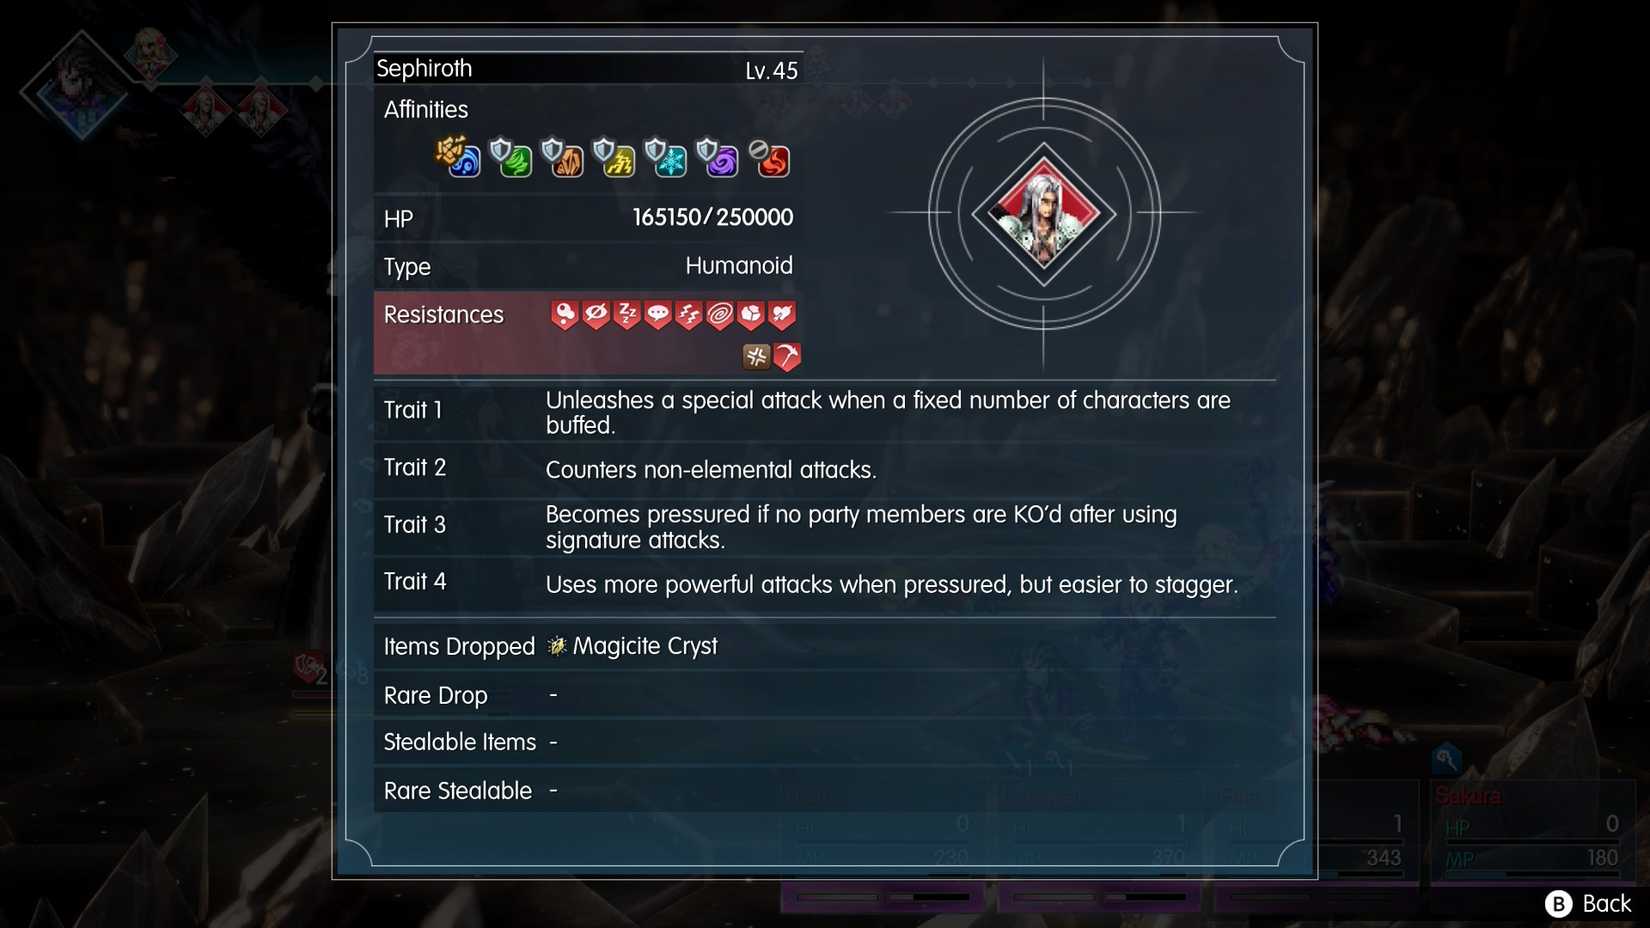
Throughout the encounter, Sephiroth also employs disruptive abilities such as "Graviga," which cuts the party’s health in half, alongside various physical and magical area-of-effect strikes. Furthermore, if the party accumulates too many active buffs, Sephiroth retaliates with "Nihilistic Solitude," a dark-attribute attack that dispels all active enhancements at once. Assigning the Warrior of Light Vision to the tank becomes invaluable here as well, since the tank can gain immunity to dark damage and use "Multi-Cover" to nullify the attack entirely, preserving the party’s hard-earned buffs.
Phase 3
When Sephiroth is reduced to his final 50,000 HP, he enters the third and final phase, which functions primarily as a strict damage-per-second (DPS) check. During the transition, he once again becomes immune to damage before casting "Divine Proclamation"—indicated by a meteor icon appearing among his status effects—followed by another instance of "Heartless Angel" that drops the party’s health to one. Timely use of "Multi-Cover" on the tank remains critical to surviving this transition.
The summoned meteor introduces a ticking clock, counting down by one turn with every action until it reaches zero, which results in an immediate game over. Fortunately, Sephiroth acquires a definitive vulnerability to light-element attacks during this phase while absorbing dark-element skills. Players must unleash their strongest non-dark abilities continuously to deplete his remaining health before the meteor countdown expires.
Sephiroth Vision Abilities and Masteries
Overcoming the challenge rewards players with one of the most potent Visions available in Final Fantasy Resonance. Sephiroth’s kit excels in raw damage output, offering a diverse array of elemental damage types and robust passive abilities.
His signature Resonance skill, "True Octaslash," delivers non-elemental physical damage to all enemies across eight distinct strikes. When combined with his native "Ultimate Aggression" mastery bonus, every single one of these eight hits is guaranteed to land as a critical hit. This synergy allows for staggering damage output, particularly when paired with complementary bonuses like Terra’s "Breaking the Limit."
Sephiroth’s progression tree offers a wide selection of powerful skills. At the foundational level, players gain access to "Boundless Void," which inflicts non-elemental physical damage and paralysis, alongside "Dark Surge" for dark physical damage and "Jenova Cells," a passive that scales strength, stamina, and magic based on the character’s spirit up to 25 percent.
As the Vision advances through its star levels, players unlock heavy-hitting black magic spells such as "Firaga," "Blizzaga," and "Thundaga," alongside advanced spellblade techniques like "Purging Blade," which inflicts dark damage while reducing enemy defenses and resistances with Deprotect and Deshell. At the highest tier, Sephiroth grants access to "Meteor," a forbidden black magic spell that deals non-elemental magic damage to random enemies four times, and "One-Winged Angel," a passive ability that restores 5 percent of max HP and 3 percent of max MP every turn while raising the attribute-increase cap of "Jenova Cells" to 35 percent.
Mastery bonuses further enhance the Vision’s combat efficiency. "Perfect Serenity" increases the damage of standard attacks and battle skills by 50 percent, while "Moiety’s Mirror" allows players to select a physical and magic attack to simultaneously reduce incoming damage and launch counterattacks when hit. Finally, "Dark Eater" completes the kit by allowing the character to absorb damage taken from dark-attribute attacks and convert it into restored HP.